
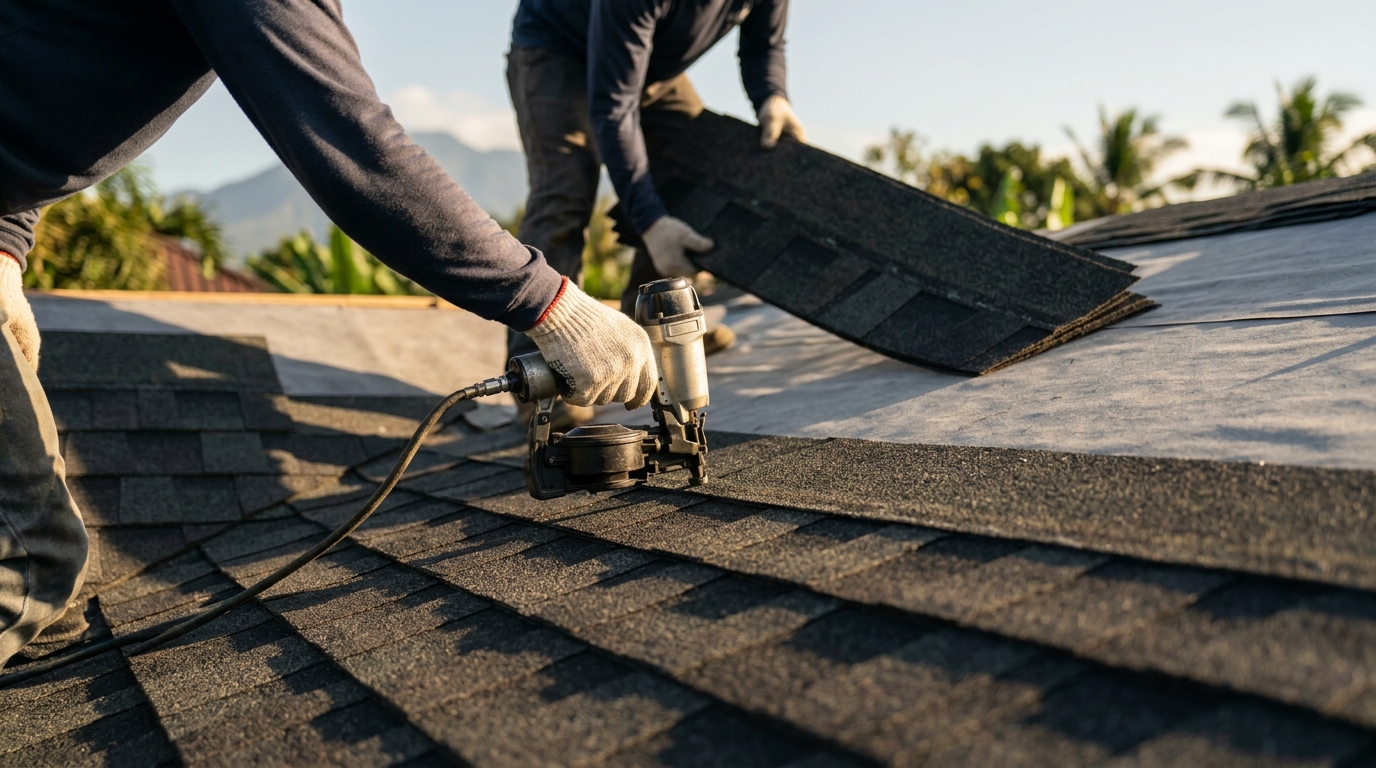
Beginner's Step-by-Step Guide to Installing Architectural Asphalt Shingles
Architectural asphalt shingles have become the dominant choice for residential roofing in the Philippines, offering a blend of durability and aesthetic depth that standard 3-tab shingles cannot match. According to industry data, architectural shingles typically outlast traditional options by 10 to 15 years, making them a critical investment for homeowners facing the country's harsh tropical climate. This guide breaks down the installation process into manageable steps, ensuring you understand the technical requirements before picking up a hammer. (Contact Us Tilcrest)
Preparation and Material Selection
Before stepping onto the roof, you must ensure your workspace is safe and your materials are ready. Architectural shingles are heavier than standard shingles, so your roof deck must be structurally sound. Inspect the plywood or OSB decking for rot, soft spots, or protruding nails. Any compromised sections must be replaced before installation begins. (Contact Us Tilcrest)
Material selection is equally critical. IKO Metals and other premium brands offer shingles engineered for high-wind resistance and UV protection. When choosing your shingles, consider the weight and thickness. Thicker shingles provide better impact resistance against hail and falling debris, which is vital in regions with severe weather patterns. Ensure you have enough underlayment, roofing nails, and sealant to cover the entire surface area plus a 10% waste factor. (About Us Tilcrest)
Installing the Underlayment System
The underlayment acts as the secondary water barrier between your roof deck and the shingles. In the Philippines, where torrential rains are common, using a high-quality synthetic underlayment is recommended over traditional felt paper. Synthetic options are more tear-resistant and provide better slip resistance for installers.
Start at the eave of the roof and roll out the underlayment horizontally. Overlap each subsequent row by at least 4 inches to ensure water flows over the top layer rather than underneath. Secure the underlayment with cap nails or staples every 12 to 18 inches. If you are installing over an existing roof, ensure the old surface is flat and clean to prevent telegraphing of imperfections through the new shingles.
Laying the Starter Course
The starter course is the foundation of your shingle installation. It prevents wind uplift and seals the cutouts of the first full row of shingles. You can use specialized starter strips or cut standard shingles to create a starter strip. Cut the tab portion off the shingle to create a straight, uniform strip.
Align the starter strip along the eave, ensuring it overhangs the drip edge by 1/4 inch. Nail the strip in place, placing nails just above the cutout line of the shingles that will follow. This precise placement ensures that the nails are covered by the next row, protecting them from corrosion and water intrusion. A consistent starter course ensures the final roof line is straight and aesthetically pleasing.
Installing the First Full Row
Begin the first full row of architectural shingles at the corner opposite your dominant hand. If you are right-handed, start at the left corner. Place the shingle so that its bottom edge aligns with the top edge of the starter strip. This alignment is crucial for maintaining the correct exposure of each shingle.
Nail the shingle according to the manufacturer's specifications. Typically, this requires four to six nails per shingle, placed in the designated nailing zone. The nails must be driven straight and flush with the shingle surface. Overdriving nails can damage the shingle mat, while underdriving nails can prevent proper sealing. Ensure the shingle is straight and level before securing it.
Progressing Up the Roof Deck
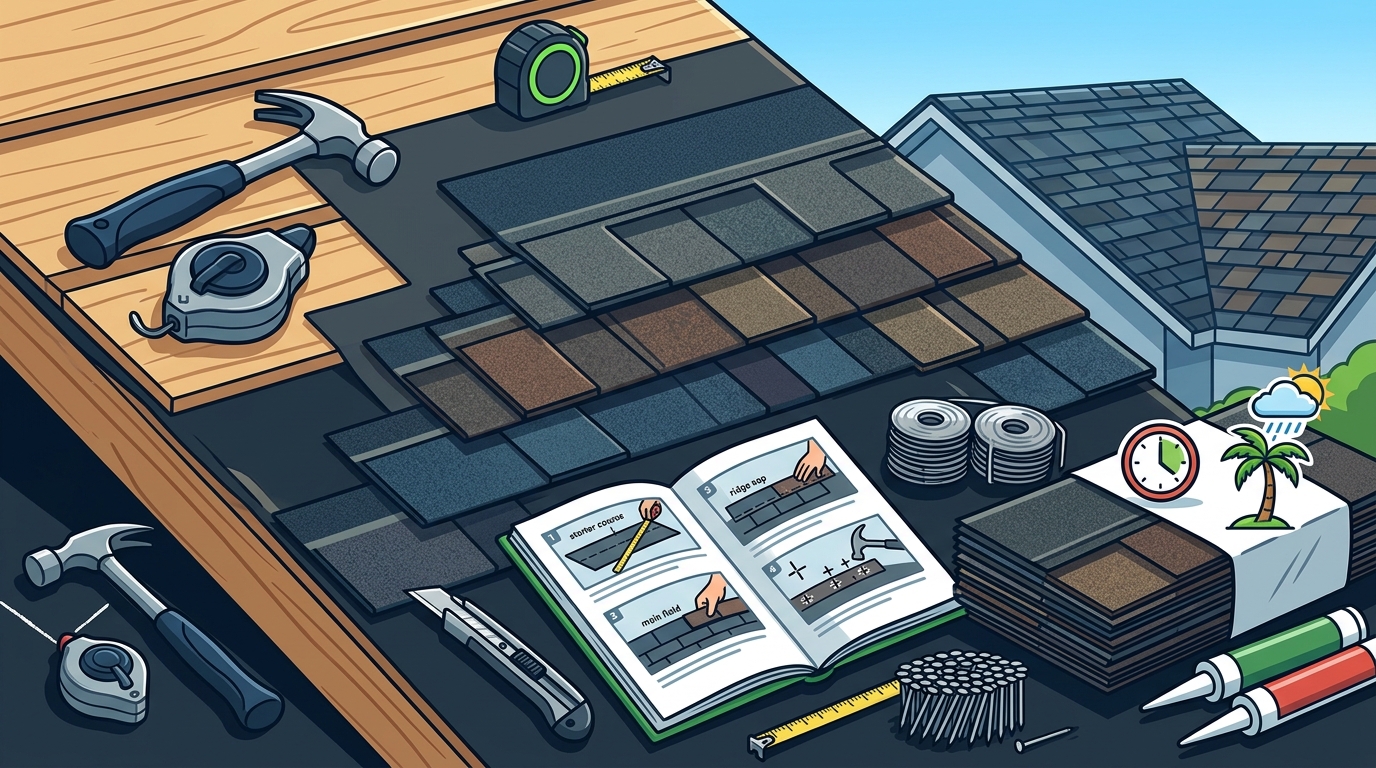
As you move up the roof, maintain a consistent stagger pattern. The cutouts of each row should align with the cutouts of the row below, creating a uniform appearance. This staggered pattern also helps to break up the visual lines, enhancing the architectural look of the roof.
When approaching the ridge, you may need to cut shingles to fit. Use a utility knife to score the shingle along the desired cut line, then snap it back to break it cleanly. Always measure twice and cut once to avoid gaps or misalignments. Ensure that the shingles are tightly butted against each other to prevent water infiltration.
Ridge Cap and Final Details
The ridge cap is the final piece of the puzzle, sealing the peak of the roof where two slopes meet. Use pre-formed ridge cap shingles or cut standard shingles into thirds. Overlap the ridge cap shingles by 2 to 3 inches, securing them with nails on each side.
Apply roofing sealant under the tabs of the ridge cap shingles to ensure a watertight bond. This is especially important in high-wind areas. Finally, inspect the entire roof for any loose nails or misaligned shingles. Make any necessary adjustments before cleaning up the work area.
Key Takeaways
- Architectural shingles offer a lifespan of 20 to 30 years with proper maintenance, significantly outlasting standard asphalt shingles.
- IKO Metals provides shingles with over 50 years of expertise, ensuring robust performance in tropical climates.
- Proper underlayment installation is critical for preventing water damage in regions with heavy rainfall.
- The starter course must be aligned precisely to prevent wind uplift and ensure a straight roof line.
- Nailing must be done within the designated zone to avoid exposing nails to the elements.
- Tilcrest Roofing Systems offers premium roofing options tailored to local climate challenges.
- Regular maintenance can extend the life of your roof and prevent costly repairs.
Frequently Asked Questions
How long do architectural shingles last?
Architectural shingles typically last between 20 to 30 years, depending on the quality of the material and the climate conditions. Premium brands like IKO Metals offer enhanced durability for longer lifespans.
Can I install architectural shingles over my existing roof?
Yes, you can install architectural shingles over an existing roof, provided the structure is sound and local building codes allow it. However, removing the old roof is often recommended for a longer-lasting installation.
What is the best underlayment for tropical climates?
Synthetic underlayment is generally preferred in tropical climates due to its superior tear resistance and slip resistance compared to traditional felt paper.
How many nails per shingle are required?
Most architectural shingles require four to six nails per shingle, placed in the designated nailing zone. Always follow the manufacturer's specific guidelines.
Do I need a starter strip?
Yes, a starter strip is essential to seal the cutouts of the first row and prevent wind uplift. You can use specialized starter strips or cut standard shingles to create one.
How do I cut shingles for the ridge cap?
You can use pre-formed ridge cap shingles or cut standard shingles into thirds using a utility knife. Score the shingle along the desired line and snap it back to break it cleanly.
What is the importance of proper nailing?
Proper nailing ensures that the shingles are securely attached to the roof deck. Overdriving or underdriving nails can lead to shingle failure and water infiltration.
Ready to Upgrade Your Roof?
Installing architectural asphalt shingles is a complex task that requires precision and expertise. For the best results, consider partnering with Tilcrest Roofing Systems, the official distributor of premium roofing brands in the Philippines. Contact us today to learn more about our premium roofing options and schedule a consultation.